Glamping promises the best of both worlds: real beds and hot showers in the middle of nature. Yet anyone who has arrived at a luxury tent after dark, only to discover they forgot a headlamp or warm socks, knows how quickly a small oversight can sour the experience. That’s why smart glamping trip packing matters just as much as choosing the right site. Even with rates typically running from about $100 to $400 per night, you’re still sleeping outdoors, and the little things make or break the stay.
This guide walks you through everything you need for a comfortable 2-3 night stay, from booking smartly and preparing before you leave, to clothing for every season, gear and comfort essentials, kitchen items, and toiletries with a solid first aid kit. We’ll finish with a full recap checklist you can screenshot and use. Pack well, and the only surprises will be good ones.
Why a Glamping Trip Packing Checklist Matters
Glamping sits in a middle ground that catches a lot of travelers off guard. Your tent, yurt or cabin usually comes with a real bed, basic furniture and often lighting or a small heater, so it feels almost like a hotel. But that’s exactly where people slip up: the shelter covers the basics, while everything personal — your clothing, toiletries, medications and a light for finding the bathroom at midnight — is entirely on you.
Remote sites make forgotten items expensive
Many glamping sites are intentionally set away from towns, and it’s common for them to sit around 30-60 minutes from the nearest shop or pharmacy. Forget your phone charger, toothbrush or a warm layer, and replacing it means a long drive and often a limited selection. On a 2-3 night stay, that errand can eat up half a day of your trip — or force you to make do without.
Overpacking is the opposite problem, and it’s just as common. Because glamping feels unfamiliar, first-timers tend to throw in everything from home “just in case,” then struggle to fit bags into a tent or carry gear across a field from the parking area. A checklist built around a 2-3 night stay keeps your bag lean while making sure nothing essential gets left behind.
The good news is that glamping needs far less than traditional camping. You don’t need a tent, sleeping pad or camp kitchen — just the personal items, layers and small comforts that turn a furnished shelter into a comfortable base. Work through the sections below before you zip up your bag, and you’ll avoid both the 10 p.m. pharmacy run and the overstuffed trunk.
Booking and Pre-Trip Preparation
Glamping trips are far more enjoyable when the logistics are sorted before you start packing. A little preparation also shapes what goes in your bag: the more the site provides, the less you need to carry. Here’s how to set yourself up before departure.
- Book summer weekends 2-3 months ahead. Popular sites near lakes, national parks and coastlines fill up fast for peak season, and last-minute availability tends to be thin or expensive. Booking early also gives you a better choice of tent locations rather than whatever is left over.
- Budget for typical rates of about $100-$400 per night. The price usually reflects the level of comfort: a simple safari tent with shared facilities sits at the lower end, while a decked dome with a private bathroom and wood stove sits at the top. Compare what each rate includes before you commit.
- Ask the host exactly what is provided. Many sites supply linens, towels, blankets and basic cooking gear, but some expect you to bring your own. A quick message saves you from hauling a sleeping bag you won’t use, or discovering there’s no kettle on site.
- Confirm the practical details. Check check-in and check-out times, how far you’ll need to walk from parking to your tent (this affects how you pack), and whether drinking water is available or you need to bring your own supply.
Once these questions are answered, write the answers down next to your checklist. Knowing that towels are included, or that the water tap is a five-minute walk away, directly changes what goes into your bag and how you pack it.
Clothing and Footwear for Every Season
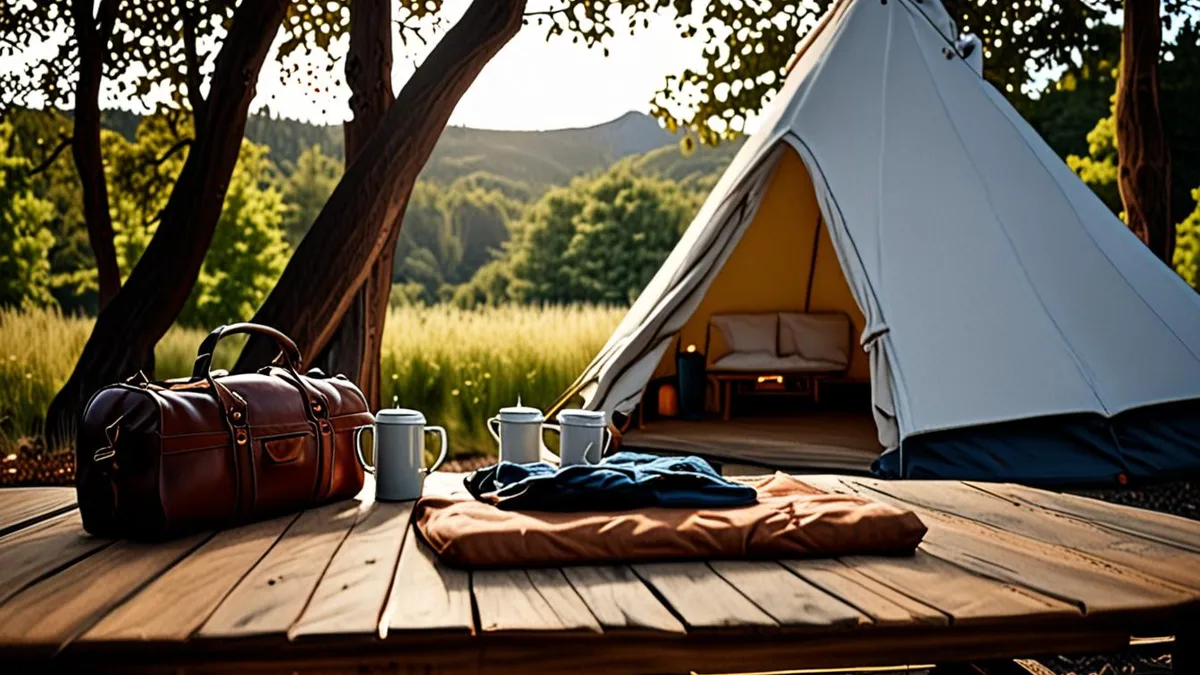
Even though glamping means sleeping in a real bed, you will still spend most of your time outdoors, so clothing matters more than most first-timers expect. For trips between May and October, think in layers rather than single warm items. Mornings can be crisp, afternoons warm and sunny, and evenings cool again, often within the same day. A simple system of a t-shirt, a fleece mid-layer and a waterproof shell lets you adjust on the go without carrying a full wardrobe.
Shoulder-season trips deserve extra respect. Nights can drop below 10°C (50°F), and canvas tents cool down quickly once the sun sets. Warm sleepwear and a beanie make the difference between a cozy night and shivering under the blankets. If you tend to run cold, add thick socks reserved just for sleeping.
Footwear is where many travelers overpack or underpack. You really only need two pairs, and both should already be broken in. New boots and blisters will ruin a short trip faster than any rainstorm.
- T-shirts in quick-dry fabric: pack one per day plus a spare, since campfires and dewy mornings add wear faster than you expect.
- Fleece mid-layer: a zip-up style works better than a pullover, letting you vent heat during a morning walk or campfire.
- Waterproof shell: choose one roomy enough to fit over your fleece, so the combination still works on a rainy evening.
- Warm sleepwear and a beanie: fleece or merino pieces designed for sleeping, not the clothes you hiked in all day.
- Broken-in waterproof shoes or hiking boots: test them on a few local walks before the trip, not on the trail itself.
- Camp sandals: useful for trips to the shared washhouse, sandy tent floors and letting your feet breathe after a day in boots.
Gear and Comfort Essentials
Even the most comfortable glamping tent goes dark at night, and that is where most first-timers get caught out. Many sites have no lights at all beyond the entrance, and the path to the bathroom block can be uneven, root-covered or muddy after rain. A headlamp is not optional, it is the difference between an easy midnight walk and a twisted ankle. Pack it at the top of your bag, not buried at the bottom, so you can find it the moment you arrive after sunset.
The other big surprise is power. Some sites have a single outlet in a shared kitchen, and some have none at all. If you plan to use your phone for photos, maps or music, bring your own battery capacity rather than assuming you can recharge on site. A fully charged power bank takes up almost no space and removes that low-battery anxiety entirely.
Comfort items matter too. Tents let in early morning light and night sounds are different from what you hear at home, so a few small items can protect your sleep. Here is what to bring:
- Headlamp with 200-300 lumens — plenty for campsite use; pick one with a red-light mode so you don’t blind your tentmate during late-night trips.
- Backup flashlight or lantern for each person — a small lantern that hangs from a tent loop doubles as reading light and emergency backup.
- Power bank of 10,000 mAh or more — enough to recharge a phone several times over a weekend; charge it fully before you leave home.
- Eye mask and earplugs — sunrise comes early in summer, and foam earplugs dull wind, birds and neighboring tents.
- Reusable water bottle — fill it at the site’s water source so you don’t trek back and forth at night.
- Small daypack — carry water, snacks and a layer on walks from the tent without unpacking your main bag.
Food, Cooking and Kitchen Items
Food is where glamping trips either run smoothly or turn into a series of 30-minute drives to the nearest store. Because remote sites are often far from any shop, a forgotten ingredient is a real problem, not a minor annoyance. The fix is simple: decide your meals before you pack, and do the fussy work at home where you have a full kitchen, sharp knives and counter space. A little planning turns camp cooking from a chore into one of the best parts of the trip.
- Write a meal plan for each day of your stay. For a 2-3 night trip, that usually means two dinners, breakfasts and lunches. Keep it to one-pot meals and grilling so you need minimal equipment, and sketch out which night uses which ingredients so nothing sits uncooked in the cooler.
- Pre-prep ingredients at home. Chop vegetables, marinate meat in a jar and crack eggs into a bottle. Prepped ingredients take up half the space and mean you carry fewer tools, and you spend your evenings relaxing instead of chopping by headlamp.
- Check refrigeration and pack a cooler if needed. Many sites have no fridge, so a cooler with ice packs is essential for dairy, meat and anything fresh. Freeze a water bottle to keep the cold box cold longer — it doubles as drinking water as it melts.
- Decant basics into small containers. You only need a few tablespoons of salt, pepper, your favorite spices, a small bottle of oil and a roll of foil — not full supermarket packaging. Small containers also stop a spilled spice jar from ruining the whole pantry box.
- Sort out your heat source. Either pack a camp stove with fuel, or confirm with the host that there is a grill or fire pit you can actually cook on. Bring matches or a lighter, and pack biodegradable soap plus a scrubber for washing up.
Once the cooking plan is settled, the kitchen part of your bag shrinks dramatically. You end up carrying a cooler, one box of pantry items and a small wash kit instead of your entire spice cabinet. That leaves more room in the car for the things that actually make the trip pleasant, and it means less to haul back out at the end of your stay.
Toiletries, First Aid and Weather Protection
Glamping bathrooms range from full spa-style facilities to a simple shared washhouse, so pack as if amenities might be basic. Solid or travel-size toiletries save space, survive being knocked over in a tent and are far less messy than full bottles. A quick-dry towel is worth the small cost, since regular bath towels stay damp for a day in humid conditions. If your site has a shared washhouse, a pair of flip-flops or slide sandals for the walk to the showers is a small addition that makes a big difference in comfort.
Sun protection and insects deserve real attention during the May to October season. Sunscreen matters even on cloudy days, and repellent can make or break an evening outside the tent. A compact first aid kit rounds out the kit — most issues on a glamping trip are blisters, small cuts and headaches, but you want to handle them without improvising. Before you pack, ask your host what toiletries and towels are already provided, since many upscale sites stock soap, shampoo and linens in the tent itself. That one question can trim your bag considerably and free up space for the extras that actually matter to you.
- Solid toiletries — shampoo and soap bars last longer than liquid versions, can’t leak in transit and count as carry-on friendly if you’re flying.
- Reef-safe sunscreen — check the label for the active ingredients if your trip includes swimming in lakes or the ocean.
- Quick-dry towel — look for a microfiber one that packs down to the size of a paperback and dries within a couple of hours.
- Compact first aid kit — blister plasters, antiseptic wipes, tweezers, pain relievers and any personal medication you take daily, kept in one zip pouch so it’s findable in the dark.
- Insect repellent — bring enough for several daily applications during May-September trips, when mosquitoes and biting flies are most active.
- Rain cover for your bag — a cheap cover or even a large zip bag keeps your spare clothes dry if you carry gear between the parking area and the tent in a downpour.
Final Glamping Trip Packing Checklist Recap
Glamping promises a comfortable bed in the middle of nature, yet many first-timers arrive missing the small essentials that make or break the stay. The fix is simple: book summer weekends 2-3 months ahead, confirm with your host exactly what is provided, and pack layers for cool nights that can dip below 10°C (50°F).
From there, cover the four pillars of any 2-3 night stay: clothing, gear, food and toiletries. Work through each category before you zip up your bag, and you will avoid both overpacking and last-minute shop runs. Use this checklist as your guide, and your glamping trip will stay comfortable and stress-free from check-in to checkout. If you found this packing list helpful, leave a comment with your own tips or share the article with a fellow traveler.